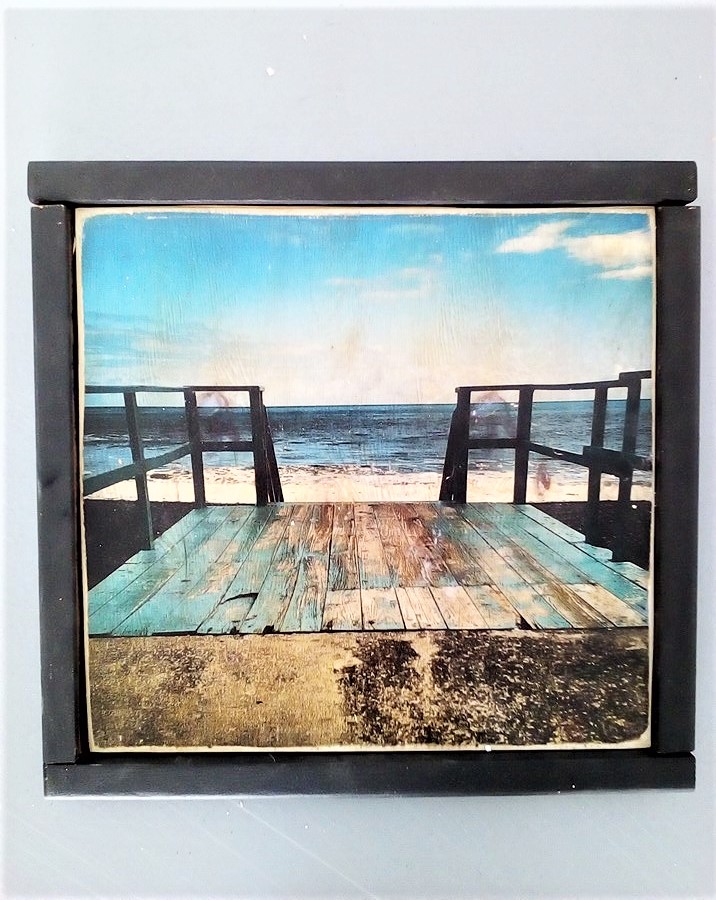
The Ultimate Guide to Wood Photo Transfers for an Exhibition that people will remember
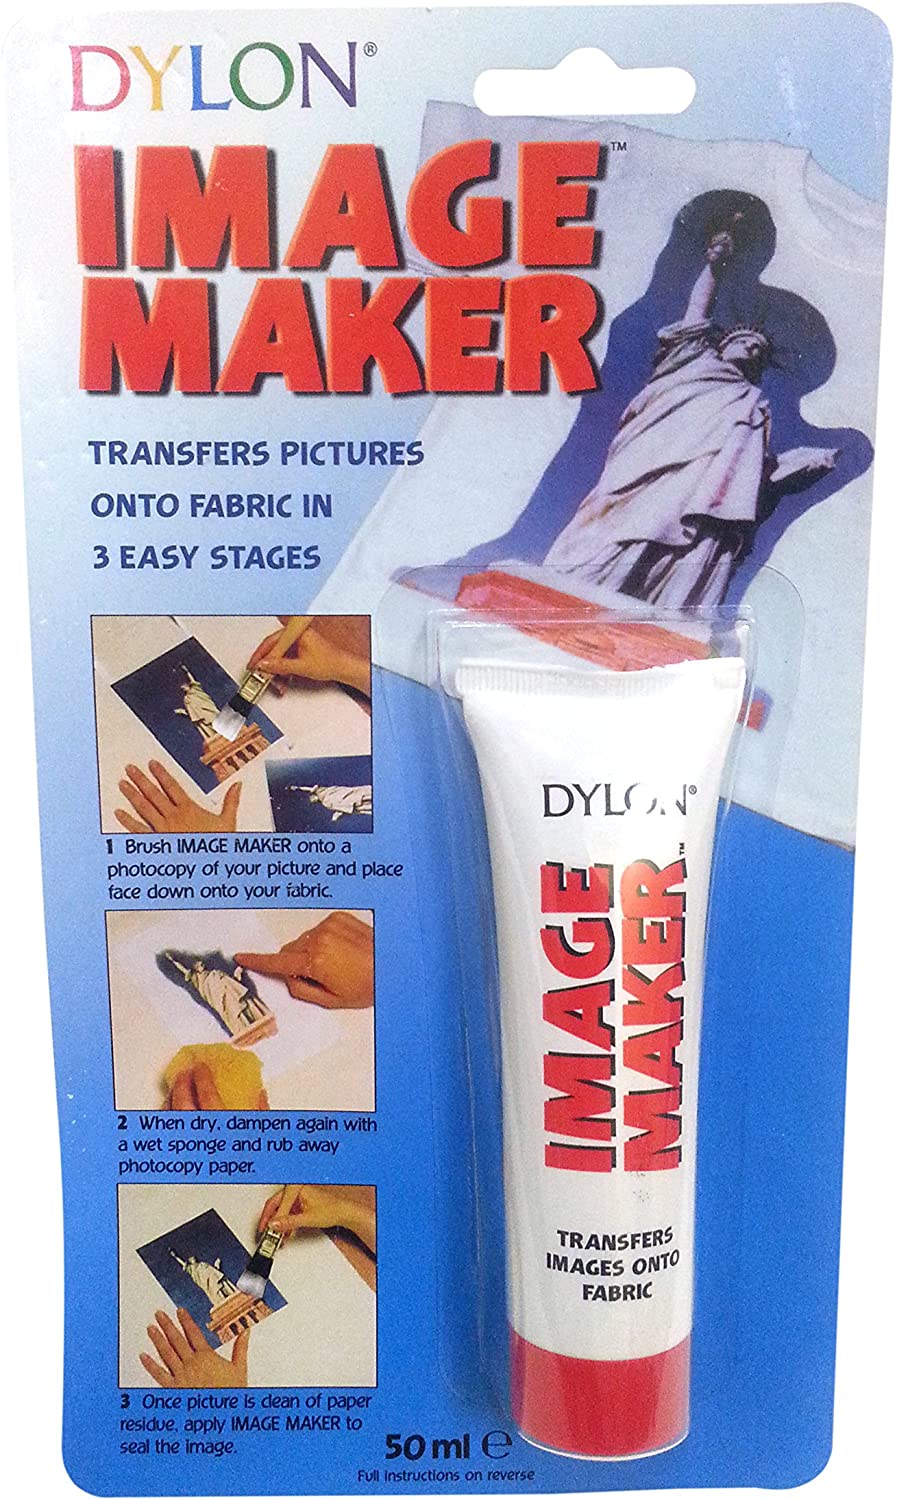
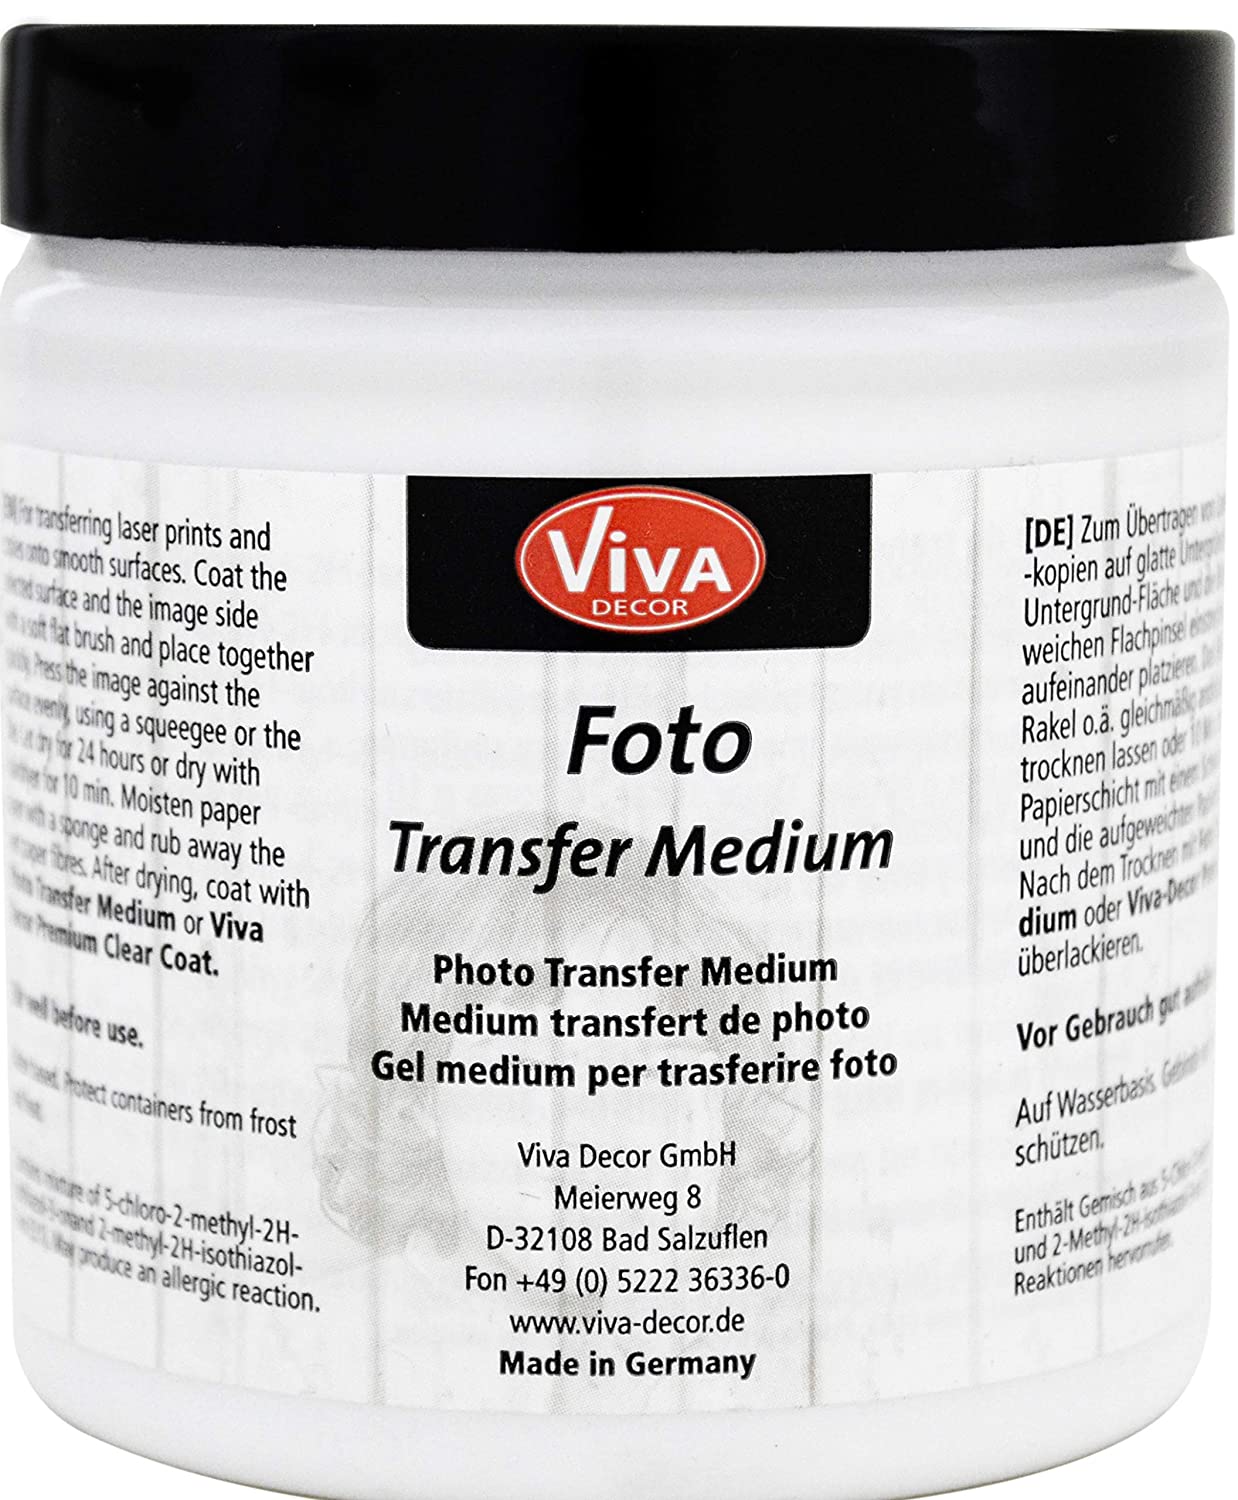
1. You'll need some "Foto Transfer Medium" glue.
You can find easily in any art & craft shop. Otherwise, just order it on Amazon here:
2. Open any Photo or Image Editor, and apply "mirror" effect on your photo
In order to have the photo in the good sens after gluing it.
3. Print your photo with any LASER printer
Inkjet printer gives poor results most of time
4. Follow this step-by-step tutorial to understand how to transfer your photo on wood!
It's the same I followed to create mine !
5. Turn the result into a nice exhibition in your local business !
After i transferred my photos into wood, i propose to a local lounge bar to do an exhibition about it. – Yes, so cool! My goal with this process was to give life to my photography. People are more likely to buy a beautifully framed piece of wood than “just” printed photography.
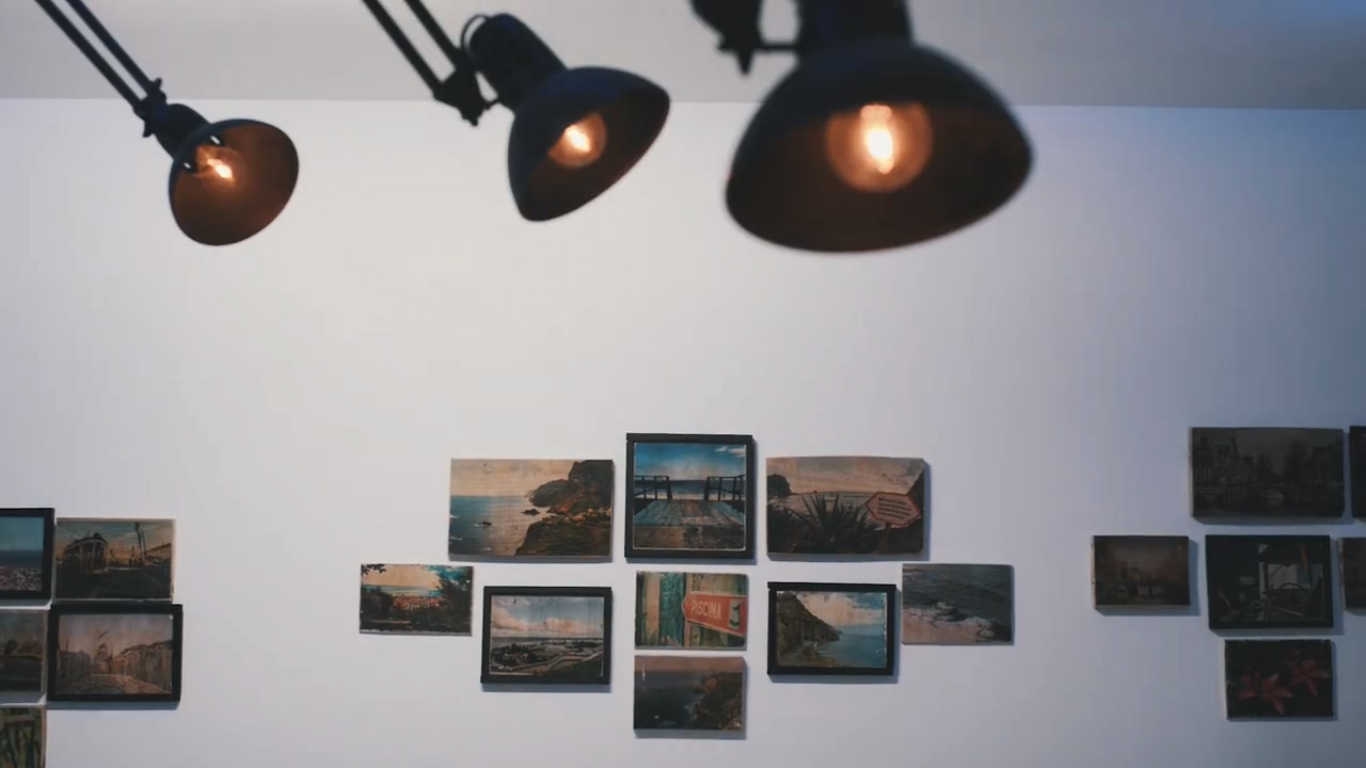
I tried to play with the different woods I could find. Also, it allowed me to create an exhibition with a little budget since all the wood I use were recycled from the beach.
For this exhibition, I chose to frame them in a handmade black frame that was matching the decoration of the bar, so they look perfectly fitted for the place.
